I remember when I tried to use a body modifier when it was first introduced and I don't know whether I did it wrong or it has been improved but I remember the frustration when it didn't work and I abandoned them as just another one of those items that may or may not work depending on which way the wind was blowing. Now I use them all the time to get simple things done in an effective way and I find them reliable and dependable.
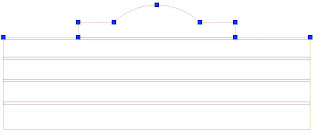 Select the wall and right click. Roof/Floorline - Edit Roofline option and now looking in your command line choose the 'Project to Polyline' option (P). Note: The red brick courses are defined as seperate componants in the wall style.
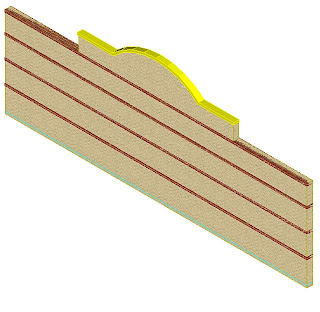
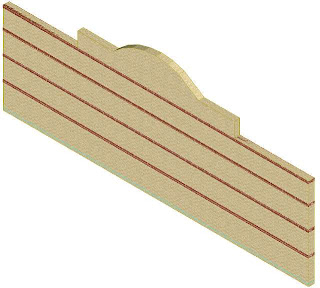 Now I need to add my top course header over the raised bwk and arch. Going back to the elevation view, I trace a pline over the top (not the wings), offset it 110, draw lines to join both ends and then select one PLINE, right click and select J (join). If you have trouble getting a closed PLINE, just trace over the whole lot using the arc option where required. This time the join option worked but it can be quicker to get the job done to just do it again. Now I tried to turn that closed PLine into a Mass Element but it would not even give me that option. Perhaps the USC wasn't correct. Regardless I just extruded it into a solid, then converted the solid into an ME.Now the final step is to add the ME as a Body Modifier to the wall. In this case I added it as an additive to the top course so it would use the same characteristics (red brick). Notice that it does not even touch this top course but it accepts the ME as an additive to it.
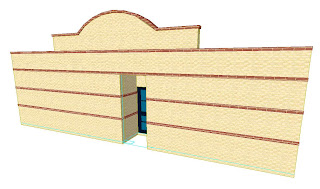

OH NO! I just pulled out a photo!
It's not how I modelled it!!!!
That's okay, I'll just 'Restore' that Body Modifier, add some more ME to the WHOLE length of the wall, including the little vertical bits I had missed & union the whole ME together into one object. Then when adding the ME to the wall as a BM, select the replace option and it removes the course that would otherwise show (that we don't want). Now that I have a handle on Body Modifier's, I find them indespensible. They cleverly & efficiently solve many of the little modelling issues you come across in building virtual models. But wait ... there's more!!
No comments:
Post a Comment